Hey, everyone into making things or working hands-on. If a screw keeps slipping out of plastic, or you wonder how solid connections really hold up, this one’s for you. Let’s look at brass inserts – what they actually do, how they squeeze into tiny spaces, since they show up everywhere from phones to engines. I’ve been using these little bits in my DIY builds forever. Fair warning – once you give these a shot, you’ll wonder what took you ages to start. One piece at a time, we’ll walk through it, swapping real tips that work when stuff feels tricky.
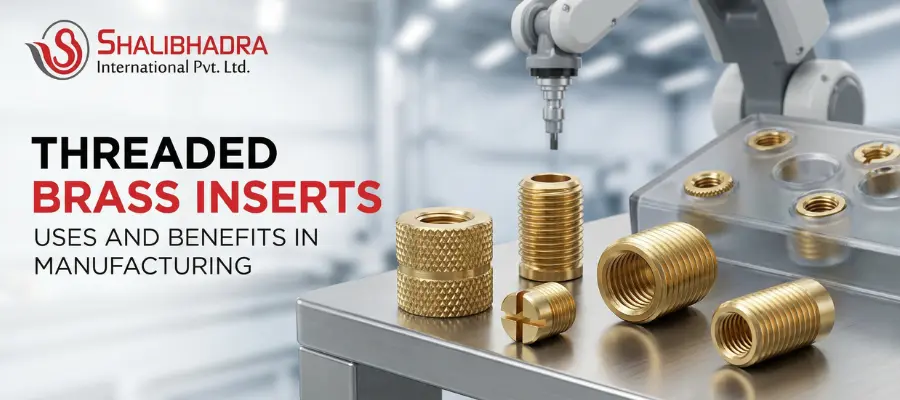
What Exactly Are Brass Inserts?
Think about driving a screw into wood or plastic, but it keeps spinning out. Enter brass inserts – small metal sleeves threaded on the inside, usually made from a blend of copper and zinc. Slide one into your piece, secure it with heat or pressure. Suddenly, you’ve got a firm spot for screws, even in weak materials. Stays put, handles repeated use, zero shake.
Brass inserts come in many shapes. Some spiral like tiny springs, whereas others are chunky with rough edges to prevent sliding, yet a few actually bite into the surface as they’re driven in. Look for petite types stamped M3 or bigger ones tagged 1/4-20 – just match it to your screw size. They’re not just for pros; hobbyists often use them when building custom gadgets or home-made furniture.
In my experience, brass turns out great because it’s tough yet bendy – takes pressure without breaking, plus lets you tweak it. Besides that, it resists rust naturally, so it holds up fine when wet or left outdoors.
So what’s going on with brass inserts? This is exactly how they function
Here’s the deal – load distribution matters most. Twist it into plain plastic, see? Eventually, it bends or tears apart. Yet add a brass piece – the bolt grabs steel this time. The outer form – perhaps jagged edges or uneven channels – clicks tight, staying put as force spreads evenly instead of ripping free.
Getting it ready isn’t hard – it depends on the type. For spirals, drill a pilot hole first, use a tap, then screw it in with a special tool. Sturdy versions? Press them in or melt them quickly using vibrations. One time, I used warm air to fit inserts into circuit boards – neat job, took just moments. Match it to your material: plastics need low-heat options, while wood likes ones that expand slightly when you turn the screw.
From what I’ve seen on the web or while making things, using stuff overworks way better. Pull it apart, then reassemble – like fifty times – and the slot still fits right. No more trashing parts because the threads got messed up!
Why use brass inserts? That’s what makes them useful
Here’s the main thing – why bother with brass inserts when glue or a longer screw could work? I tested each option, so pay attention: these tiny parts stick around much longer, plus they grip better. That’s why I always keep them in my toolbox
Real strong – these pieces handle serious twists and vibration without snapping. Fixing up classic cars? They keep plastic parts from cracking, even when I’m wrestling with them.
Reusability saves time because – unlike single-use fasteners – they survive multiple disassemblies and reassemblies while staying strong, perfect when tweaking prototypes or repairing gear.
Plastics mixed with composites get tougher when there’s a metal centre – it keeps them from sagging. I put these into printed pieces that had to handle heavy loads.
Brass copes with wetness far better than steel ever could – making it ideal for outdoor gear or watercraft. Rather than peeling after months, it stays intact even when things get humid.
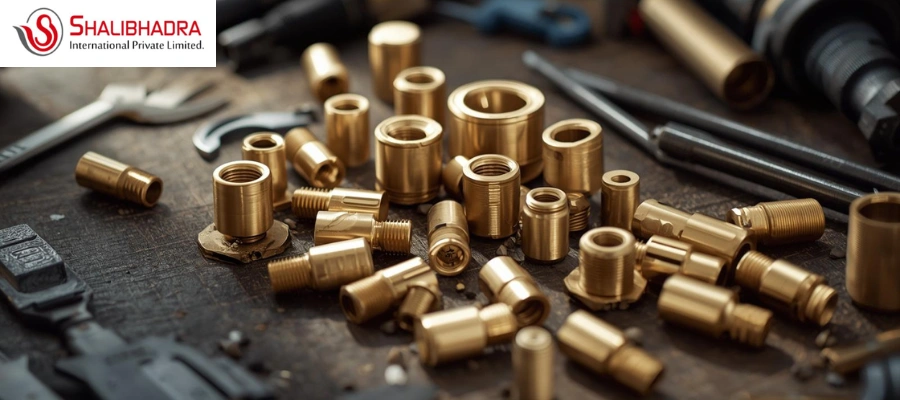
They pop up everywhere – take tech, for instance, holding chill units together; or aircraft, where slim designs count. Around the house, people stick them in pivot mounts when building custom racks.
Save cash in the long run: sure, tiny price up front – but slashes broken parts while backing adaptable builds.
Fewer parts keep things simpler – thicker walls just add size plus expense. When cutting costs, I skipped supports, but soon got frustrated cause bits started coming apart.
Types of Brass Inserts: Which One Fits Your Project?
Not every insert performs the same. Since trying several, here’s a short breakdown to help you choose wisely – because results differ depending on what you grab
Coiled metal bits twist like a spring, with rough edges that bite into material. Slide them into drilled spots made just for screws. Great near things that vibrate – say, engines – they hold firm without help and take big stress. But here’s the thing: the hole’s got to be spot-on, or it won’t work right.
Round metal pins slide into plastic bits through force or vibrations. Their rough sides help them hold tight. Works well in tiny gadgets built from softened plastic. Installation’s fast, but they can’t take heavy wobbling as coiled wires do.
Self-tapping inserts cut their own threads as they go. No need for a drill – great for wood or quick jobs around the house. Watch how hard you turn them, or you might split the material. These work best when used gently.
Heat-Set Inserts: Put in place with heat. Their flat form sits right on PCBs. Fits well – though leave them out when temps rise too much.
Expansion inserts swell up when you twist them in. Simple to work with softwood. Yet they hold poorly – the weakest choice out there.
Sizes matter – start small for devices, then shift to bigger when tackling heavy equipment. Mine came from places such as McMaster-Carr or local hardware stores.
Step-by-Step Guide to Installing Brass Inserts
Curious to try? That’s how I do it – bit by bit – learning little hacks through tons of mistakes made earlier:
1. Start by drilling a hole that fits the insert – maybe 0.125″ for a size 4. Use a sharp bit when working with plastic, moving at a low speed to prevent overheating. A worn tip could drag across the surface rather than slicing through neatly.
2. Choose Your Method:
Spin the wire into the slot using your fingers at first. Then use a proper tool to shove it deep inside.
Shake solid stuff with sound until it melts – starts sticking fast once warm.
Heat it up with a soldering iron until it melts down.
Slide it in → the bolt flares it open.
3. Keep it stable while you see if the level. Turn the screw until tight – check that it stays put.
4. Try this – lube works when stuff feels stiff. If you’re working with heat, wear gloves so you don’t burn yourself. Test on scrap pieces first instead of diving right in. For plastic parts, check their melt point ahead of time; ABS can take quite a bit of heat without warping.
Get this stuff: a drill, taps, plus some insert bits – maybe swap in an ultrasonic tool. Protect your eyes, open a window when smoke appears.
Real-World Applications: Where Brass Inserts Shine
I’ve used brass inserts in tons of projects – they always hold strong. When it comes to devices, they keep ports fixed firmly on circuit boards. Mechanics rely on them for reinforcing plastic bumpers. In aircraft, they show up in lightweight layered materials. At home, I’ve stuck them into wobbly furniture legs or glued-back case pieces.
Such parts work well for plastics where threading isn’t possible while moulding. Take medical tools needing high-heat sanitation, or children’s gear made to survive rough handling.
Pros, Cons, and Alternatives
Strong, lasts long, doesn’t corrode, fits lots of uses. Yet costs more, needs equipment, and besides, it weakens under extreme heat because brass softens around 900°C.
Go for steel if toughness is key – just watch out, rust might show up. Pick nylon when cash is low, yet keep in mind, it won’t stick around long. Opt for rivets whenever screws make no sense. If strong threads are crucial, inserts just beat the rest.
Wrapping It Up: Why Brass Inserts Are a Must-Have
Here’s the thing – all you need to know about brass inserts, learned the hard way. These aren’t extras; they’re why stuff lasts. Whether you’re a weekend DIYer or sketching plans at work, give ’em a shot. Things will turn out smoother from the start, while saving you headaches down the line.
Got a project in the works? Drop me a line below – I love hearing what you’re building. Need tools instead? Check out reliable stores for fair deals. Keep making cool things!